Showing posts with label Stamping. Show all posts

Sunday, February 17, 2019

Art Journal: You Make My Heart Flutter (TTC8 challenge)

Hi friends,

I hope you all had a great Valentine's Day. I am back today with another Art Journal page for the February challenge at The Twisted Challenges: Valentine's Day + No Red/ Pink.

Its a blessing to be in love. That jittery, fluttery feeling that you feel when with your loved one is what I have presented in this simple & fun art journal page. If you ask me what are most favorite techniques to use when creating an art journal page, I would say they are Inking, Stamping & Doodling. As this page is all about Valentine's day and love, I have combined my top 3 favorite techniques to create this page.

Art Journal: You Make My Heart Flutter (TTC8 challenge)

List of Supplies:

Art Journal: You Make My Heart Flutter (TTC8 challenge)
Steps to Create:
  • Using a round blending tool, apply Twisted Citron, Broken China and Wilter Violet Ink (Left to Right) on an art journal.
  • Spray with a water mister and let it air dry.
  • Doodle a large butterfly using Sakura Micron on left side of page.
  • Die cut and emboss butterfly and color them using the same Distress Oxide Inks and adhere them on the art journal page on right with glue.
  • Doodle around the butterflies and the entire length of the page.
  • Stamp the quote with Cobalt Blue Ink and re-write over it with Sakura Micron for added depth to finish the page.
Art Journal: You Make My Heart Flutter (TTC8 challenge)


Hope you liked this art journal page. To know more details of the ongoing challenge, click here. Last date for participation is 28th Feb.

Art Journal: You Make My Heart Flutter (TTC8 challenge)


Love,
Dr. Neha Sanwalka Rungta

Saturday, January 5, 2019

Smile Layout - TTC#7

Hi Friends,

I am back after a long long break. I hope you have missed me :) Well it was my birthday on 31st December and I spent my birthday crafting an inspiration for the January challenge at The Twisted Challenges. The theme this month is:  Something Old,Something New, Something Borrowed/Gifted and Something Blue.


I created a positive layout for my room, with a simple word "Smile" as the focus and kept the whole piece pretty simple. 


  • I used an old wedding card insert for the base (Something Old) and stamped the word SMILE using Versamark ink and WRMK alphabet stamps.
  • I then heat set the sentiment using Ranger Clear Embossing powder. 
  • Thereafter, I applied Ranger Distress Oxide Inks: Broken China (Something Blue), Picked Raspberry 
  • I also did 2nd generation stamping using a retired Stampin Up Stamp (Something Old) and Ranger Archival Ink Cobalt Ink (Something Blue)
  • I then adhered butterfly die cuts which were cut using dies that I borrowed from Tejal (Something Borrowed).
  • I finished the layout with iCraft clay star sequence that I recently brought (Something New). 
I hope you are inspired to join us at The Twisted Challenges. Last date to participate is 31st January. 

Love,
Dr. Neha Sanwalka Rungta
Crafty Flirtations &
The Twisted Challenges 

Saturday, September 1, 2018

Ganeshotsav #TTC4 - Art Journal Page

Hi Friends,

We are back with a fun theme this month at The Twisted Challenges. The theme this month is "Celebrations + Monochrome", i.e. you need to create a project on any festival or occasion that you celebrate and use only 1 color and its variations to create your project. 


For inspiration this month, I have created an art journal celebrating my favorite God "Ganpati" and favorite festival for which I wait all year long "Ganeshotsav". Ganpati, the elephant God is believed to be the Destroyer of All Obstacles and is considered "Pratham Pujniya" i.e. God that you worship 1st before commencing any new work. If you have ever lived in Mumbai or ever visited Mumbai during Ganeshotsav, you would know why it is my favorite festival. Mumbai comes to life during festival. All streets are lit up with lights, there are pandals everywhere with "Sarvjanik Ganpati" (make shift tents having big idols of Ganpati where public can offer prayers) as well as people get Ganpati idols at home for worship. Friends and family visit each other's house to offer prayers. This festival also brings together people of all religions and faith. Mumbai becomes 1 during this festival. If you are in India, and you want to see true Mumbai spirit, you should visit Mumbai once during Ganeshotsav. It is one big festival celebrated for 10-11 days before Ganpati is bid farewell. Entire Mumbai is literally on streets on last day and when everyone shouts in unison "Ganpati Bappa Morya, Pudchya Varshi Lawkar Ya" (hail lord Ganpati, come soon next year), it gives you a different high which you can only experience by visiting Mumbai.  

Here is my art journal page to inspire you.

Ganeshotsav Art Journal Page


Some steps to create:
  • I stamped the Ganpati Image from CrafTangles Stamp "Ganpati Bappa" using Ranger Archival Black ink.
  • I colored the image using Cretacolor pencil colors in shades of blue. 
  • I outlined image with Sakura Microns to thicken the outline.
  • Once I was happy with the image, I colored the background using Ranger Distress Oxide Ink Broken China using a blending tool.
  • I stamped one of the Ganesh Mantra (prayer) (custom stamp from Mudra) in Broken China ink to add texture to the page.
  • I then stamped Om and small Ganpati stamp from a custom stamp from Mudra using Ranger Cobalt Blue ink.
  • To finish the page, I doodled around the edges using Sakura gel pens and Sakura brush Microns.

I hope you loved this simple page & my interpretation of our theme. Hop on the "The Twisted Challenges" to read all about the challenge, rules & some stunning inspiration from other design team members.

Love,
Dr. Neha Sanwalka Rungta
Crafty Flirtations

Thursday, July 12, 2018

This Too Shall Pass - Art Journal Page

Hi,

Time is one of the most essential and expensive commodities that any person has. It is essential cause you need time to do any work. A lot of us dream for doing so many things in life, but most often, we complain that we dont have time. This is specially the excuse when its about doing something for your personal self - like physical activity or yoga or a hobby or meditation.  However, if you manage your time well, you would never have this excuse and you shall have time for all that you want to do. I also call time expensive, cause once time passes, it is never coming back. You cant relive yesterday - today nor will you be able to relive today again tomorrow. You also dont know what is in store for you tomorrow. All that you have is the current moment that you are living in.

This Too Shall Pass - Art Journal Page 


This brings me to the 3rd aspect of time - "Time Changes" with every single moment. If you are not healthy today, you can change your diet/ activity pattern and get healthy in time. If you are not rich, you can be one if you work hard enough. If you are ill today, take medical treatment and you can feel better tomorrow. Its only a matter of time, how situations and life changes. And that's what the next page in the art journal that I made for Tejal represents.

This Too Shall Pass - Art Journal Page 

"This Too Shall Pass" is Khushboo's favorite quote. Even though I have never interacted personally with her, she is the 3rd musketeer in the trio of Tejal, Saumya & Khusboo and I felt that this art journal would be incomplete without including her favorites. So I requested Saumya to get information from Khushboo. Thanks a ton Saumya for the help.

This Too Shall Pass - Art Journal Page 


As this quote was all about time, all that I have used on this page is clocks. I used various clocks (its just one stamp from Heartfelt Creations, but I think its retired) showing different time points in a day to further re-enforce the fact that time changes. This page is one of my most favorite pages from this art journal.

Supplies used:
This Too Shall Pass - Art Journal Page 

Steps to Create:

  • Apply gesso on card stock/ chipboard base and set aside to dry.
  • Apply Ranger texture paste through  stencil on page.
  • Once dry, apply Oxide inks with help of a blending foam. Use water mister to get desired effects.
  • Once dry, do 2nd generation stamping using clock stamp on page with black ink. 
  • Stamp clock stamp on white card stock using black permanent ink and die cut.
  • Color the clock die cuts using Distress inks. 
  • Adhere the clock die cuts and sentiments on page using glue.
  • To finish the page, add faux running stitch on the page with paint pens.
This Too Shall Pass - Art Journal Page 


You can view the other pages by clicking captions below each image.

Page 1

Page 2
Page 3


Page 4

Page 5


Page 6
I hope you loved this page and are inspired to believe that there is a better time awaiting you in future.

Love,
Dr. Neha Sanwalka Rungta
Crafty Flirtations 

P.S. The page contains some affiliate links without any extra cost to you 

Tuesday, June 19, 2018

Checkered Florals Art Journal Page

Hi Friends,

I used to tangle & practice Zentangle - the meditative art form before I got into stamping & mixed media. I had a long discussion on Zentangle with Tejal recently and hence, when I wanted to  create the mid-month inspiration for The Twisted Challenges June challenge "Checkered Florals", I decided that my focal points need to be inspired by tangle "Knightsbridge" which is a checkered tangle. I did use die cuts for the flowers, but you can cut them free hand too.

Art Journal With Checked Florals
In my art journal, to create the background, I applied Ranger Dylusions paint: Calypso Teal & Cut Grass with blending tool. Once the background colours were dry, I stamped randomly Simon Says Stamp Ornate Background using Ranger Black Archival Ink.

Art Journal With Checked Florals

For the Focal Point, I drew check pattern using Steadtler fine point red pen. Thereafter I coloured every alternate square using Steadtler Luna Water Colour pencils in shades of red, orange & yellow and blended it with water brush. For leaves, I gave a very light wash of green on die cuts and highlighted veins with a darker green pencil.

Art Journal With Checkered Floral
I adhered with leaves and flowers to the journal using glue. To finish the page, I added some quotes from Tim Holtz Idea-ology Stickers Small Talk.

Art Journal With Checkered Florals
I hope you are inspired by this simple and easy to do checkered florals page. Do participate in our ongoing challenge & win amazing prizes.

Love,
Dr. Neha Sanwalka Rungta
Crafty Flirtations
The Twisted Challenges

Friday, May 25, 2018

Tips to take care of stamps

Craft stamps are a huge investment. If not taken care of appropriately, they can wear away with time. Here are some tips to help you take care of your stamps:

Some Stamps I Love

Storage:
  • Store your stamps in cool places. Avoid direct exposure to sun and high temperatures.
  • Avoid storing stamps in colander or wicker baskets so that stamps are not pressing against each other or metal as this can leave dents on the stamp and affect stamping.
  • DVD cases are a great alternative to store stamps. 
  • You can use clear sleeves/ pockets available in stationary stores to store your stamps if their packaging wears away.
  • Use shallow cartons or tote to store your stamps upright or hang them if possible.
Cleaning:
  • Always clean the stamps before putting them away after use. Stamp off any access ink on your stamp on a scrap paper.
  • If using water based ink to stamp, wipe the stamps with a moist cloth.
  • If using permanent ink to stamp, use a stamp cleaning solution to clean the stamps. Make sure to remove any cleaning solution from the stamp before putting them away.
  • If using Stazon ink, use Stazon cleaner to remove the ink. 
  • Never scrub your stamp hard to remove any inks as it can damage the design of the stamp.
  • Always let the stamp dry completely before storing them away. 
  • Chamois cloth available in car accessory stores is a great, economical alternative to baby wipes to clean stamps.
Conditioning & Reconditioning:
  • Many a times, new stamps dont stamp well at 1st go. Try stamping them with VersaMark or an Embossing ink for the 1st time on a rough paper before using your pigment/ dye inks for stamping. This conditions the stamps & most of the times is effective when using a new stamp.
  • Rubber stamps tend to become hard with time. You could apply a thin layer of glycerin and leave the stamp aside to dry to condition the stamp if it starts to dry. 
  • If your photo polymer stamps lose their stickiness, wash them with mild soap and water and let them self-dry. They will get back their stickiness.
These are some few tips to help take care of your stamps. If you have any more tips & tricks, please leave them in your comment and I shall add it to the list. 

Saturday, May 5, 2018

Seek Magic - An Art Journal Page

Hi Friends,

Sometimes all it takes to create an art journal is a few Distress inks, a stencil and stamps. I am here to share a simple and elegant art journal spread. 


Supplies:
  • Ranger Distress Ink: Peacock Feather, Stormy Sky, Picked Raspberry, Candied Apple, Black Soot
  • Ranger Black Archival Ink 
  • Dylusions Stamp: Doodle Delight DYR40927
  • Concord & 9th Perfectly Penned Stamp
  • iCraft Stencil
  • We R Memory Keepers M,A,G,I,C mini alphabet stamp sets
  • Sakura White Gelli Roll Pen
  • Water Mister, blending tools, heat gun, paint brush  
Steps to Create:
  • Blend Peacock Feather, Picked Raspberry and Candied Apple ink on the journal using blending tools.
  • Mist with mini mister and dry using a heat gun.
  • Apply Stormy Sky ink over Peacock Feather section through a stencil in some parts. 
  • Apply Picked Raspberry over Picked Raspberry section and Candied Apply over Candied Apple section through a stencil in some parts.
  • Smoosh some Black Soot ink on a craft mat, dilute using some water and make splatters on the journal page using a thin paint brush. 
  • Stamp various images from Dylusions stamp at different heights from bottom of page using black ink.
  • Stamp the sentiment using black ink. 
  • To finish the layout, add highlights on the sentiment using white gel pen.
Hope you all like this art journal page.

Love,
Dr. Neha Sanwalka Rungta
Crafty Flirtations 

Tuesday, April 24, 2018

Stamping on Candle


Candles come in various size, shapes and colours and make for excellent home décor.  One can further create interest on candles by either doing Decoupage or stamping on them. Today, I am sharing the process of stamping on a candle with you all. 

Art Work Created by Dr. Neha Sanwalka Rungta & Forum Shah of The Craft Studio for June 2017 issue of Our Idea Book Magazine

Supplies: 
  • Stamps 
  • Ranger Archival Ink or any pigment Ink 
  • Scissor
  • Plain and non-textured white tissue paper
  • Heat gun 
  • Wax paper
Steps:
  • Stamp the image on a single ply of plain and non-textured tissue paper. (Tip: You can colour outline image using permanent markers).
  • Cut the stamped image as close to the edges as possible.
  • Place the cut out on the candle where you want the image and hold the stamped tissue paper in place by rolling a wax paper around the candle. Hold it with your hand nice and tight to make sure there are no creases on the tissue paper below.
  • Plug in a heat gun and once warm, wave it over the areas where the stamped image is placed. As the candle heats up, the pressure from the wax paper will push the stamped tissue image into the melting wax of the candle, embedding the image in the candle.
  • Make sure to keep moving the heat gun so as to not heat any one point of candle for very long.
  • As the tissue paper gets embedded, the tissue paper will no longer be visible as a separate element from candle. Remove the wax paper to reveal a beautiful stamped candle.
  • You can also embellish the candle using lace, sequins or art stones. 

(PS. This article was 1st published in the June 2017 issue of "Our Idea Book" Magazine)

Friday, April 20, 2018

More Water Colour Flowers

Hi Friends,

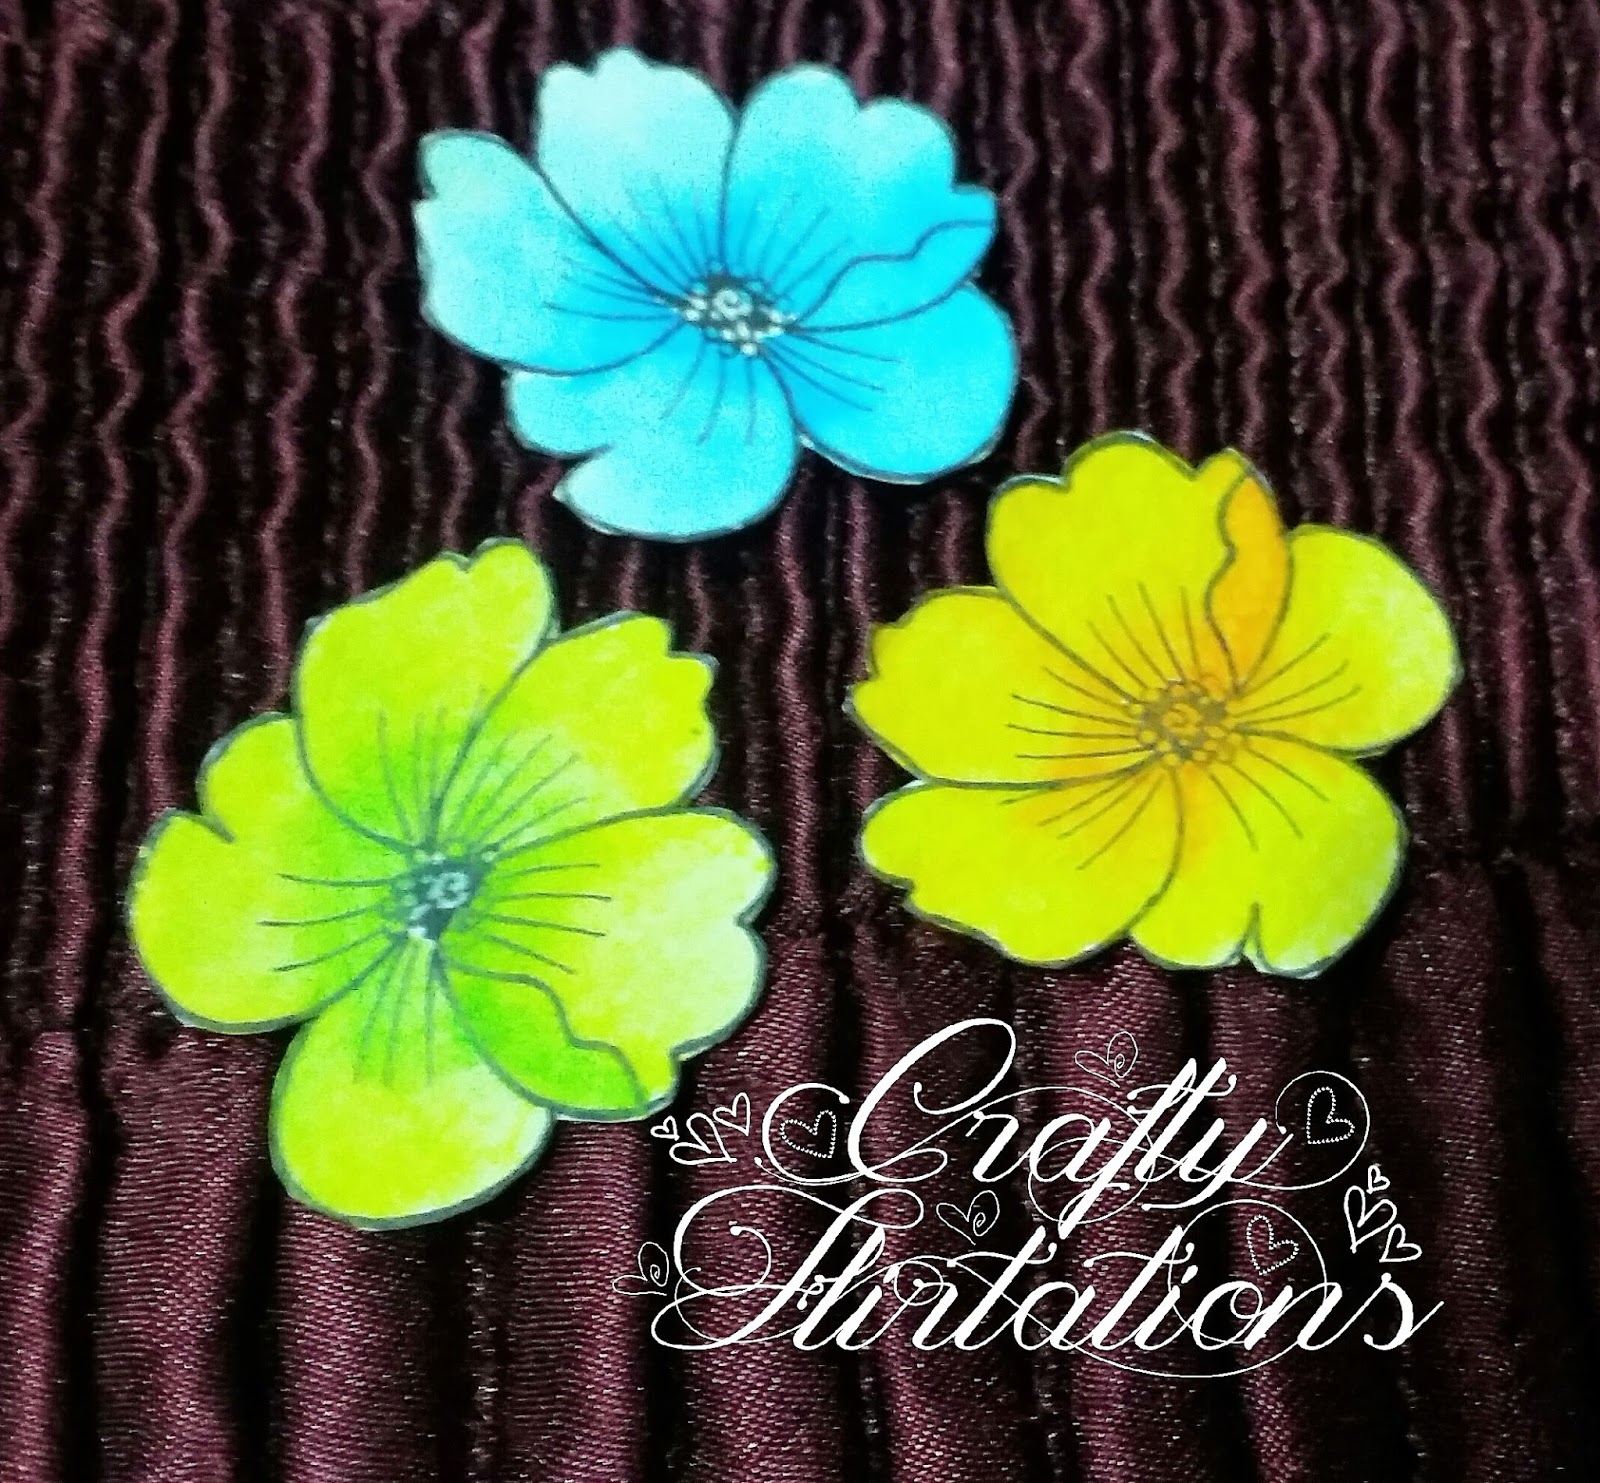
Today I am here to share some of more flowers coloured using Sakura Water Colour Pens or CretaColor Water Colour pencils.

 Stamp: Penny Black Blooming Gardens

 Stamp: Mudra Linen Blooms
 Stamp: Mudra Linen Blooms

With Love,
Dr. Neha Sanwalka Rungta,
Crafty Flirtations 

Wednesday, April 18, 2018

Water Coloured Peonies

Hi Friends,

I am learning to colour using watercolours. Watercolours are one of the most difficult mediums to colour and I am slowly trying to improve my watercolour skills. Here are some of the Peonies I coloured using Sakura Watercolour Pens.


Love,
Dr. Neha Sanwalka Rungta,
Crafty Flirtations 

Monday, April 16, 2018

Some fruits & Ice-cream?

Hello,

Welcome back to my blog. I am sharing yet another colouring adventure of mine. This time I am sharing some fruits & ice-cream to cool you this summer. Coloured using Cretacolor Watercolour Pencils.

Stamp: Hero Arts Enjoy Fruit By Lia Griffiths

 Stamp: Hero Arts Oh Happy Day By Lia Griffiths 


Stamp: Hero Arts Enjoy Fruit By Lia Griffiths

Love,
Dr. Neha Sanwalka Rungta
Crafty Flirtations 

Wednesday, January 17, 2018

Your Love Gives Me Wings To Fly

Hello Friends,

It's almost a month to go for Valentine's day, but we all start making cards & gift items early. So here, I am sharing with you a frugal mixed-media layout for Valentine's  gitf.


  • I wrapped some laces I had at home around a 3 by 8" piece of plywood (scrap piece of plywood).
  • Apply a coat of Gesso. Once the Gesso was dry, I coloured the background using spray paints I made at home (You can find numerous frugal recipes on YouTube).
  • For the focal point, I cut a heart from a red card stock and applied red glitter on it using glue.
  • I drew wings on vellum using Ranger Emboss It pen and heat embossed it using White Embossing powder. Then I fussy cut the wings.
  • I stamped sentiments on white card stock and applied a coat of Glossy Accent on them.
  • To finish the piece, I adhered wings, heart and sentiment on the coloured ply using Glossy Accent. 
Hope you enjoyed this quick & frugal Valentine's gift.

Love, 
Dr. Neha Sanwalka Rungta
Crafty Flirtations 


Tuesday, January 16, 2018

Doodled ATCs

Hi friends,

Hope 2018 has been going great for you. I am sharing some ATCs I made with doodling sometime back. Hope you like them.


  • Blend Distress ink on 2.5 by 3.5" card stock. 
  • Draw circles of various size on card stock using Sakura Micron and fill them using Sakura Gelli Roll pens.
  • Add highlights to circles.
  • To finish, apply a thin coat Glossy Accent on the edge and sprinkle with glitter. Adhere stamped sentiment using double sided foam tape.

  • Blend Distress Ink in Shades of blue on 2.5 by 3.5" card stock and stamp some pine trees on top using Archival Inks.
  • Stamp some Pine trees on a card stock and fussy cut. 
  • Draw a tortoise on card stock and doodle using various patterns and fussy cut. 
  • Create a slider system on the inked and stamped panel and cover the base using Dress My Craft Frosted Sugar (I used Glossy Accent to adhere Frosted Sugar).
  • Adhere the tortoise on it using home made slider system. 
  • Add a card stock at back and fussy cut pine trees on top. Add some Dress My Craft Frosted Sugar on the Pine trees.
  • To finish the ATC, adhere sentiment (handwritten) using double sided foam tape.


  • Doodle a feather design using Sakura Micron on yellow card stock.
  • Write the sentiment with help of a stencil & Sakura Micron to finish the ATC.


  • Doodle a floral design using various Sakura Gelli Roll pens on black card stock,
  • To finish the ATC, write a sentiment also using Sakura Gelli Roll Pen.


Hope you like these ATC with Doodling.

Love,
Dr. Neha Sanwalka Rungta
Crafty Flirtations 

Saturday, December 16, 2017

It's The Seasons To Be Jolly - Art Journal

Hi Friends,

Art journal for me is not just a way of expressing my thoughts, feelings, moods but its also about trying different techniques that I have been meaning to try for a long time. As Christmas is around the corner, I made an art journal page with Ornaments as my focal points and used a few different techniques to create my focal points.


Supplies used:
  • Ranger Distress Ink: Cracked Pistachio, Candied Apple, Wild Honey
  • Cosmic Shimmer Mist: Meadow Lush, Blue Lime
  • Ranger Archival Ink: Red Geranium, Jet Black
  • VersaMark Ink 
  • Art Anthology Dimensional Medium - Brick (Stone Effect)
  • iCraft Stencils
  • iCraft Floral Natura Paper Card stock 
  • Snowflakes Stamp
  • Concord & 9th: Sophisticated Script Stamp Set
  • Ranger Clear Ultra-thick Embossing Enamel (UTEE)
  • WOW Cherry Red Embossing Powder
  • Ranger Glossy Accent 
  • Rhinestones, palate knife, foam tape, yellow floss, circle cutter, heat tool  

Steps to Create:
Background: 
  • Blend Cracked Pistachio ink on the art journal.
  • Stamp snowflakes stamp (2nd generation stamping) using Red Geranium Ink.
  • Spray the cosmic shimmer sprays at a close distance on random spots and let it dry .
Pre-preparation for ornaments:
  • Cut 2" diameter circle from white card stock using circle cutter or a die (6 in number).
  • Blend Wild Honey ink on the cut circles.
  • Cut small small squares from card stock and colour using Candied Apple Ink.


1st Ornament from Left:
  • Blend Candied Apple Ink on the prepared ornament through iCraft circle cluster Stencil.
  • Once the ink is dry, apply Glossy Accent on each of the circles and keep it aside for drying. 
2nd Ornament from Left:
  • Blend Candied Apple Ink on the prepared ornament through iCraft Stencil. 
  • Once the ink is dry, apply a layer of Glossy Accent on the full circle.
  • Once dry, reapply a second coat of Glassy Accent and keep it aside for drying.

Centre Ornament:
  • Rub VersaMark Ink on the prepared ornament and sprinkle UTEE and heat set.
  • Once the UTEE is evenly melted and hot, sprinkle another layer of UTEE and heat set again.
  • Repeat the process 3-4 times to get a thick layer.
  • Once happy with the thickness of the enamel, randomly sprinkle some Cherry Red embossing powder and heat set and while the entire enamel layer is still hot, stamp on it with Snowflakes stamp to give an embossed effect (Rubber stamps work the best for this technique and before stamping on hot layer of enamel, apply VersaMark Ink on the stamp to prevent any damage from Enamel).

4th Ornament from left
  • Simply stamp some snowflakes on prepared ornament and heat set with Cherry Red Embossing powder.

5th Ornament from left
  • Apply a generous layer of stone effect Art Anthology Brick Dimensional paste through iCraft stencil on the prepared ornament and let it dry.
Last Ornament:

  • Splatter few drops of watered-down Candied Apple Ink on the ornament & embellish with a few rhinestones.
To finish all the ornaments:
  • Adhere the coloured red squares and floss on the ornaments to complete them.
Finishing the Art Journal page: 
  • Arrange and mark placement for your ornaments on the page.
  • Using some water-down Candied Apple ink, create a shadow effect on the outer ends of markings (as the Candied Apple ink re-activates some of the green inks on backgrounds, it creates a subtle shadow for ornaments.
  • Once the ink is dry, adhere the ornament  to the page with foam tape and give an uneven outline to the page with colour of your choice.
  • Adhere the extra floss on the backside with glue.
  • To finish, stamp the sentiment using Jet Black Ink and Sophisticated Script Stamp Set.

I hope you enjoyed reading about my Art Journal Page. 

Wish you a Merry & Bright Christmas :) 

Love,
Dr. Neha Sanwalka Rungta
Crafty Flirtations 

Thursday, June 29, 2017

Stamping with Distress Oxide Inks

Hi Friends,

I am back with another card today using Ranger Distress Oxide Inks. Oxide inks are absolutely fantastic for stamping. However, one must remember that these inks stay wet for a long duration so one should not touch the stamped image till the ink drys to avoid smudging. Heat tool can also be used to speed drying process. Hope you like the card.


Best Regards,
Dr. Neha Sanwalka
Crafty Flirtations 

Thursday, June 22, 2017

Stamping on coloured card stock with Oxides

Hi Friends,

Today I am sharing another card made using Ranger Distress Oxide Inks. As Distress Oxide inks are a blend of pigment and dye ink, they work great for stamping & what's more fantastic is that they can be used for stamping on coloured card stock too.


Supply List:
  • Blue textured card stock
  • White Iris Card stock 270 gsm
  • Ranger Distress Oxides: Worn Lipstick, Peeled Paint & Broken China 
  • Glossy Accent
  • Hero Arts Cling Stamp - Scattering Leaves 
  • Lawn Fawn Summer Time Charm Stamp 

Hope you all love the card.

Love,
Dr. Neha Sanwalka
Crafty Flirtations 

Wednesday, June 21, 2017

Distress Oxide Cards

Hi friends,

Ever since I brought Ranger Distress Oxide inks, I have fallen in love with them. I have tried various techniques with them and one of the techniques that I enjoyed trying was by by "Stamp N Ground Crafts By Echo Noble". Here is my try with the technique.


Hope you all like the cards.

Love,
Dr. Neha Sanwalka Rungta
Crafty Flirtations 

Wednesday, May 31, 2017

Cards For Cause - Soldier Drive - May 2017

Hi Friends,

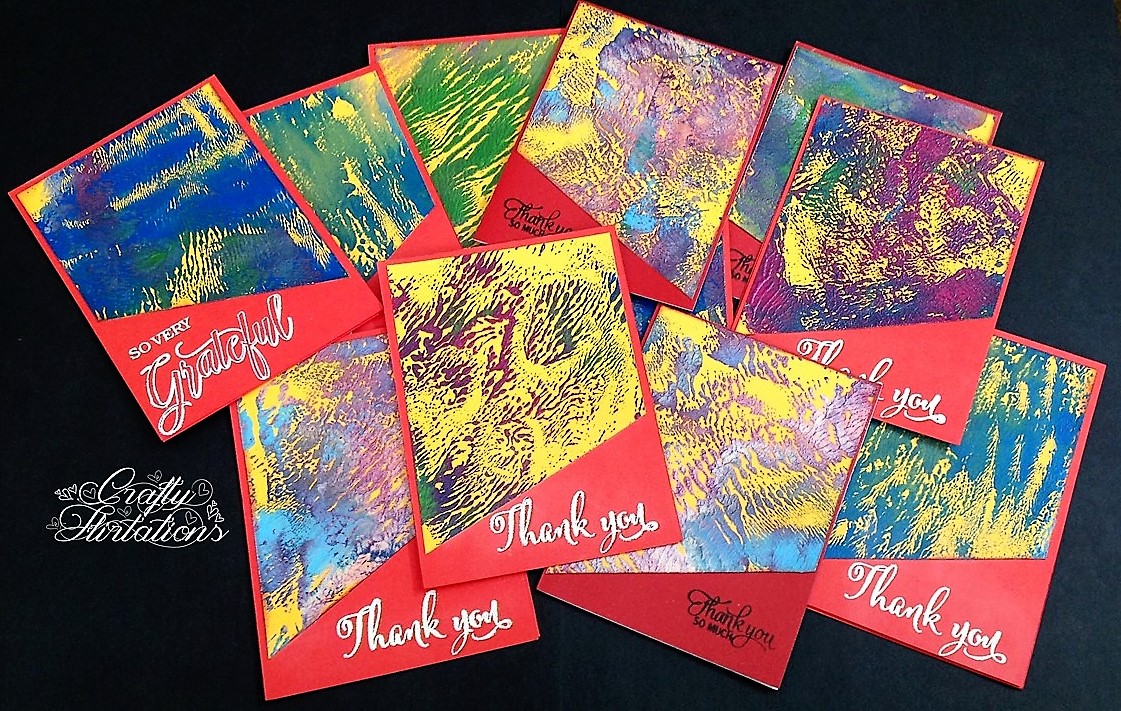
After the last soldier drive during last Diwali, I have been wanting to repeat the drive and send out more cards to Soldiers who take care of our country. So, I undertook another Cards for Cause - Soldier Drive on a personal level and set along to make cards for our brave soldiers. 2 of my Facebook friends Halak Shah & Tanvi Shah also contributed cards to this drive. When I started making cards for the drive, I realised I didnt have any Thank You or Gratitude Stamps. Before I searched online, I asked Varshitha Nagarajan of Mudra Stamps if she had any Thank you or gratitude sentiment stamps . When she got to know what I had set on to do, she very kindly sent me 2 gorgeous stamps from Mudra as her contribution for this drive. Thank you so much Halak, Tanvi & Varshitha for contributing to this drive along with me. The smile on the face of soldiers was priceless.  


Now as I have confirmation that the cards have reached their destination, I am sharing various cards (a total of 128) I made for this drive. The sentiment stamps used as exclusively from Mudra [or from Varna (Mudra was Varna before)] as I wanted to honour Varshitha's contribution towards the drive. I have used various techniques like dendritic mono- printing, stencilling, ink blending with Ranger Distress Oxide inks, Backgrounds with dimensional paints, using pattern paper etc. 


If you would like to participate in future Cards For Cause Drive With Me, Please drop your mail id below.

Hope you like these cards.

With love,
Dr. Neha Sanwalka Rungta