Saturday, April 28, 2018

Creating Home Decor using Photo Transfer Techniques

Photo transfer is a technique to transfer an image (most often an actual photo print) on a canvas, wood, MDF or clay to create personalised gifts. Today I am sharing a home décor project created using pattern paper and photo transfer techniques.

Photo Transfer done by: Dr. Neha Sanwalka Rungta of Crafty Flirtations & Flowers crafted by Forum Shah of The Craft Studio 

Supplies:
  • Flat Back Canvas
  • Papericious Incredible India Paper Pack
  • Transfer mediums/glue such as: Gel Medium or Mod-Podge or Mod-Podge Photo Transfer Medium
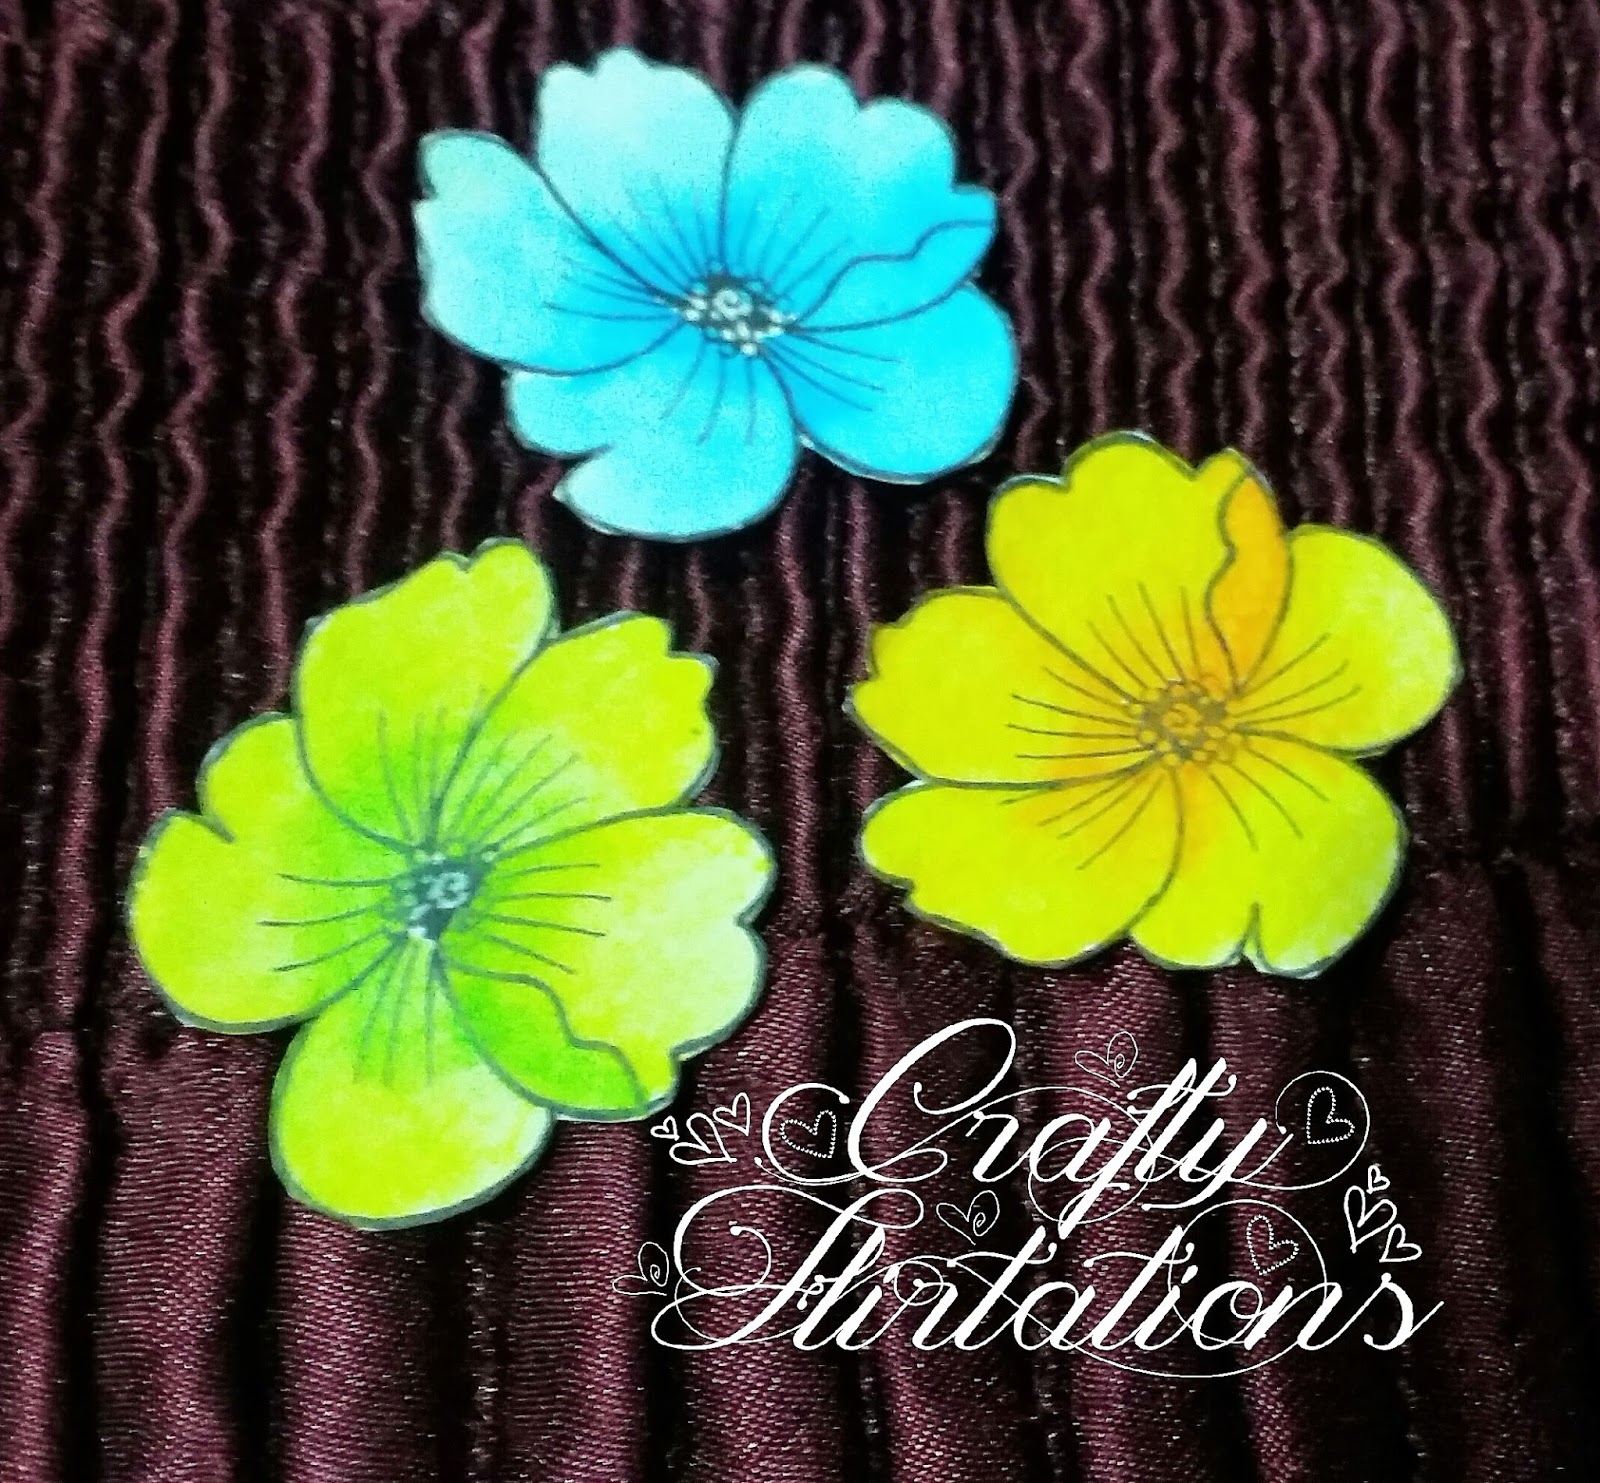
  • Handmade flowers or mulberry flowers for embellishment
  • Ranger Distress Ink - Aged Mahogany & Vintage Photo
Steps to create:
  • Clean the canvas with a piece of soft cloth to make sure that the canvas is free of any dust particle.
  • Apply an even coat of Gel Medium or Mod-Podge on the canvas.
  • Place your pattern paper, face down on the canvas and press it lightly with a cloth to remove any creases.
  • Keep it aside to dry for 24 hours. 
  • Once dry, spray water on the image and light rub with fingers to peel of the paper to reveal a beautiful photo transferred project. (Tip: spray water on one part of the image and work on one part of the image at a time).
  • Leave it aside to dry for a few hours. Distress (Colour) the edge with Distress Inks and embellish using handmade or mulberry flowers. 
(PS. This article was 1st published in the June 2017 issue of "Our Idea Book" Magazine)

Thursday, April 26, 2018

Heartfelt 25th Anniversary Gift

Hey Friends,

I am sharing a photo-layout today that I made for y uncle-aunt's 25th Anniversary. This was my 1st Heartfelt Creations frame and I had tones of fun creating this frame.


Supplies Used:

Stamps & Dies:
  • Heartfelt Creations Classic Rose Stamp and Die
  • Heartfelt Creations Camelia Carnation Stamp and Die 
  • Heartfelt Creations 3D flower shaping molds 
  • Cheery Lynn Designs Gardenia Strip die 
  • Spellbinders Foliage Die 
  • Spellbinders Flourish Die

Inks, Sprays & Paints: 
  • Lindy's Starburst Spray - Hydrangea Blue
  • Lindy's Starburst Spray - Tiffany Blue
  • Cosmic Shimmer Spray - Meadow Lush 
  • Ranger Distress Spray - Squeezed Lemonade 
  • Ranger Archival Inks: Magenta Pink, Saffron, Monarch Orange, Jet Black
  • Ranger Adriondak Ink: Buttetscotch, Cranberry
  • Catherine Pooler Inks: Grass Skirt, Garden Party, Lemon Ice, It's A Girl
  • Prima Art Alchemy Finnabair Acrylic Paint - Metallic Ancient Coin
  • Inka Gold - Jade Green
Other Supplies:
  • Gesso
  • Ranger texture paste 
  • iCraft Stencil
  • iCraft MDF
  • iCraft Floral Natura Card stock 
  • Dress My Craft Sparkling Dust
  • Dress My Craft Frosted Sugar
  • Diamond Dust 
  • Ranger Distress Crackle Paint Rock Candy Glitter
  • Liquid glue, Glue gun, heat gun, mini mister, palette  knife, paint brush, finger daubers  
Hope you love this frame as much as I do.

Love,
Dr. Neha Sanwalka Rungta
Crafty Flirtations

Tuesday, April 24, 2018

Stamping on Candle


Candles come in various size, shapes and colours and make for excellent home décor.  One can further create interest on candles by either doing Decoupage or stamping on them. Today, I am sharing the process of stamping on a candle with you all. 

Art Work Created by Dr. Neha Sanwalka Rungta & Forum Shah of The Craft Studio for June 2017 issue of Our Idea Book Magazine

Supplies: 
  • Stamps 
  • Ranger Archival Ink or any pigment Ink 
  • Scissor
  • Plain and non-textured white tissue paper
  • Heat gun 
  • Wax paper
Steps:
  • Stamp the image on a single ply of plain and non-textured tissue paper. (Tip: You can colour outline image using permanent markers).
  • Cut the stamped image as close to the edges as possible.
  • Place the cut out on the candle where you want the image and hold the stamped tissue paper in place by rolling a wax paper around the candle. Hold it with your hand nice and tight to make sure there are no creases on the tissue paper below.
  • Plug in a heat gun and once warm, wave it over the areas where the stamped image is placed. As the candle heats up, the pressure from the wax paper will push the stamped tissue image into the melting wax of the candle, embedding the image in the candle.
  • Make sure to keep moving the heat gun so as to not heat any one point of candle for very long.
  • As the tissue paper gets embedded, the tissue paper will no longer be visible as a separate element from candle. Remove the wax paper to reveal a beautiful stamped candle.
  • You can also embellish the candle using lace, sequins or art stones. 

(PS. This article was 1st published in the June 2017 issue of "Our Idea Book" Magazine)

Sunday, April 22, 2018

Hot Glue Gun Guide


Hot glue gun is a great, non-toxic and waterproof glue for art and craft projects and holiday decoration. Here are top 15 tips and tricks for using your hot glue gun:


(Pic source: Stock images from Google)

  • Hot glue gun takes 3-5 minutes on an average to warm up. So, plug in your hot glue gun at least 5 minutes in advance.  Make sure your glue gun has warmed up completely before attempting to use it. Hotter the glue gun, better the glue works to adhere objects.
  • Always keep your glue gun in upright position when it is plugged in.
  • Keep a scrap piece of card stock or tile under the glue gun to catch the glue drips.
  • Burns from hot glue gun are very common. Keep a bowl of ice water on work table when working with hot glue gun to dip your finger if you get any hot glue on your finger. You can also smoothen the hot glue with wet fingers if needed without any burns.
  • When using hot glue gun to stick burlap or other porous items, use finger guards to protect your fingers.
  • For delicate projects, squeeze out a pool of hot glue onto a piece of foil and dip the materials into the pool, rather than applying the glue directly onto the material.
  • Glue gun strings are one of the most common headaches that crafters face while using a hot glue gun. Apply Vaseline to the tip of glue gun before use to get rid of glue gun strings.
  • Another good way to get rid of glue gun strings is to keep glue gun sticks in refrigerator for 10-15 minutes before use.
  • If you do get glue gun strings on your project, run a blow dryer over the project and your glue strings will disappear or snip them with scissors once the glue has dried.
  • If your glue gun looks dirty and nasty, plug in your glue gun and let it heat up. Once a little warm, use a kitchen foil like a rag and clean any residues from the glue gun to make it sparkling clean.
  • Apart from sticking items, glue gun can also be used to add textures to different projects and surfaces and can also be painted on with acrylic colours or nail paints or alcohol inks.
  • Set up your work space away from the reach of children and pets to avoid burns or electrical shock accidents.
  • If you get hot glue where you don’t want it, apply some rubbing alcohol with a swab or cotton ball and it will pop right off.
  • If you make an error with nonporous materials like metal just wait for the glue to dry, then pull it off and try again.
  • If you make an error with a porous material like fine fabric, you can melt the glue with blow of a steam from an iron or warm air from heat gun to correct the error.


 (PS. This article was 1st published in the June 2017 issue of "Our Idea Book" Magazine)

Friday, April 20, 2018

More Water Colour Flowers

Hi Friends,

Today I am here to share some of more flowers coloured using Sakura Water Colour Pens or CretaColor Water Colour pencils.

 Stamp: Penny Black Blooming Gardens

 Stamp: Mudra Linen Blooms
 Stamp: Mudra Linen Blooms

With Love,
Dr. Neha Sanwalka Rungta,
Crafty Flirtations 

Wednesday, April 18, 2018

Water Coloured Peonies

Hi Friends,

I am learning to colour using watercolours. Watercolours are one of the most difficult mediums to colour and I am slowly trying to improve my watercolour skills. Here are some of the Peonies I coloured using Sakura Watercolour Pens.


Love,
Dr. Neha Sanwalka Rungta,
Crafty Flirtations 

Monday, April 16, 2018

Some fruits & Ice-cream?

Hello,

Welcome back to my blog. I am sharing yet another colouring adventure of mine. This time I am sharing some fruits & ice-cream to cool you this summer. Coloured using Cretacolor Watercolour Pencils.

Stamp: Hero Arts Enjoy Fruit By Lia Griffiths

 Stamp: Hero Arts Oh Happy Day By Lia Griffiths 


Stamp: Hero Arts Enjoy Fruit By Lia Griffiths

Love,
Dr. Neha Sanwalka Rungta
Crafty Flirtations 

Friday, April 13, 2018

Pocket Journal Doodling

Hi Friends,

I am going to share 2 very quick pocket journal pages that I did at the start of the year. For both these pocket journal pages, I blended distress ink through stencil on the background and then doodled/tangled over it with Sakura Microns.


The simple doodling is very relaxing & is a huge stress buster.

Love,
Dr. Neha Sanwalka Rungta
Crafty Flirtations

Thursday, April 12, 2018

Beautiful Aquatic Flora and Fauna

Hi,

I am here today with a very special project that is very close to my heart as this is my 1st try with air dry clay and I am super happy with the outcome. All the floral and fauna are handmade without using any moulds and are super easy to make.


Materials Used For Flora & Fauna:
  • Daisy Air Dry Clay
  • Embossing Tools & Carving Tools 
  • Ranger Dylusions Paint - After Mid Night
  • Ranger Dylusion Paint - Dirty Martini
  • Prima Art Alchemy Finnabair Acylic Paint - Metallic Silver Spoon
  • Prima Art Alchemy Finnabair Acylic Paint - Metallic Ancient Coin
  • Fevicryl Acrylic Paint - Pearl Silver Metallic 351
  • Fevicryl Acrylic Paint - Sparkling Pearl Golden Yellow 907
  • Fevicryl Acrylic Paint - Pearl Orange 317
  • Fevicryl Acrylic Paint - Sky Blue 63
  • Fevicryl Acrylic Paint Orange 17
  • Fevicryl Acrylic Paint Sparkling Pear Golden Green 911 
  • Inka - Gold Jade Green
  • Nuvo Embellishment Mousse - Fresh Copper 
Materials Used For Background:
  • A4 size wooden ply or can use a flat back canvas
  • Price tags & thread strings to add texture (Inspired by videos from Maremi Small Art by Marta Łapkowska)
  • Itsy Bitsy Little Birdie 2 in 1 paste 
  • Lindy's Starburst Spray - Hydrangea Blue
  • Lindy's Starburst Spray - Tiffany Blue
  • Cosmic Shimmer Spray - Meadow Lush 
  • Ranger Distress Oxide Ink - Spiced Marmalade 
  • Ranger Texture Paste
  • Pie Lane wave stencil 
  • Ranger Distress Glaze
  • Icraft Clear drops 
For Sentiment:
  • Concord & 9th Perfectly Penned Stamp Set 
  • Ranger Archival Black Ink
  • Ranger Glossy Accents
  • White Cardstock 
General Supplies:
  • Ranger Dina Wakley Gel Medium
  • Ranger Glossy Accents
  • Paint Brush 
  • Pallet Knife
  • Glue gun

Steps to create:

Though its difficult to explain the process of making this layout, I have tried to describe it in short:

Flora & Fauna:
  • Make all the flora and fauna using air dry clay by manually shaping the clay (no fancy moulds needed) and let it dry for 24 hours before colouring. Use some embossing tools and carving tools to add texture to clay pieces. (The Octopus was inspired from the video tutorial from Gabrielle Pollacco).
  • Paint the flora and fauna with your favorite colours. Once dry, apply Nuvo Mousse or Inka Gold to highlight the texture.
  • Tip: To avoid Acrylic Paint from chipping once dry, mix some Gel medium to the paints before coloring to make them permanent.

Background:
  • Adhere some price tags and thread strings on ply with help of gel medium. 
  • Thin some 2 in 1 paste and apply on the entire background as gesso. 
  • Once dry, colour using spray inks. Once the inks are dry, smoosh Oxide ink on different spots to balance the colours of the flora & fauna.
  • Splatter some of the spray ink using brush. 
  • Seal the background using Distress Glaze.
  • Apply texture paste through stencils on various parts.

Putting it together:
  • Adhere the flora and fauna to the background with help of glue gun.
  • Stamp the sentiment on cardstock and adhere to background using glue.
  • Add Glossy Accent on the sentiments.
  • To finish, adhere  clear drops using Glossy Accents.
Hope you all love the layout as much as I love it. If you do like it, please leave some love in the comments below. 

Love,
Dr. Neha Sanwalka Rungta
Crafty Flirtations 

Monday, April 9, 2018

Itsy Bitsy Little Birdie Embossing Texture Paste - Product Review

Hi Folks,

I am here with a review of Itsy Bitsy's Little Birdie's Embossing Texture Paste. Itsy Bitsy launched this paste in February 2018 during the opening of their 2nd Mumbai Store. When Rashmi Harish, owner of Itsy Bitsy showed me swatch of the Embossing Texture Paste, I knew I had to buy one.

About Embossing Texture Paste:

  • Comes in 12 amazing colours. 
  • Can be applied on various surface such as paper, metal, wood, glass etc. using a palette knife. 
  • Once you have applied the texture paste, you need to heat set it to get the crazy amazing texture. 
  • It's water resistant when dry but not washable. 
  • On heat setting, it dries to matt finish. 

Off the 12 colours, I brought the Frosty Fizz Embossing Texture Paste and here are the swatches I created to test the various effects with different mediums before I could incorporate in my project.


I applied Embossing Texture Paste through a stencil on Kraft Card-stock and heat set it. I absolutely love the bubbly matt finish of the paste. Would add amazing texture on any mixed media project . The more you heat the paste, the more bubbles it creates. A thicker layer of paste would give you bigger bubbles as compared to thin layer of paste (P.S. the small red dots are that of pixie red glitter that were on my stencil & got incorporate in the design).


After heat setting the Embossing Texture Paste on white Card stock, I sprayed it with Lindy's Starburst Spray Hydrangea Blue. It produced a fun shaded effect.


I blended some Distress Oxide Picked Raspberry Ink on Card stock and applied Embossing Texture Paste over it through a stencil. As Oxide inks are water reactive and stay wet longer, the paste absorbed some ink and on heat setting I got a pretty pink and white textured effect. 


I blended some Distress Ink Picked Raspberry on Card stock and applied Embossing Texture Paste over it through a stencil. Distress Inks are water reactive but dry quickly as compared to Oxides and the absorption of Ink was lesser by the paste in this case.


After Heat setting the Embossing Texture Paste on card stock blended with Picked Raspberry Distress Oxide Ink, I applied some Wilted Violet Distress Oxide Ink and sprayed it with water. The paste absorbed some of the pigment from the ink and gave an amazing purple look.


Similar effects were achieved when I applied Candied Apple Distress Ink on heat set paste and sprayed with water. Similar effect can be achieved with any dye inks. 


My Verdict:
  • The Embossing Texture Paste is a must for all Mixed-Media artists.
  • Adds amazing texture to projects. 
  • Absorbs inks from the background if the background inks are water reactive
  • If you want to retain the colour of your Embossing Texture Paste when applied on water reactive ink blended backgrounds, seal the background with mediums such as Distress Glaze or Gel Medium before applying the paste. 
  • Stains or absorbs pigments when applied on top after heat setting. 
  • At Rs. 249/- its absolutely worth the money. I am soon going to buy the rest of the shades for my mixed-media adventures. 
I had absolute fun using this product. Will soon share a Mixed-Media project where I used Embossing Texture Paste.

Hope you find the review helpful. 

Love, 
Dr. Neha Sanwalka Rungta
Crafty Flirtations 

(Disclaimer: I am not affiliated with Itsy Bitsy or Little Birdie nor have I been paid to write this review. This review is purely my personal opinion based on my experience of using this product)